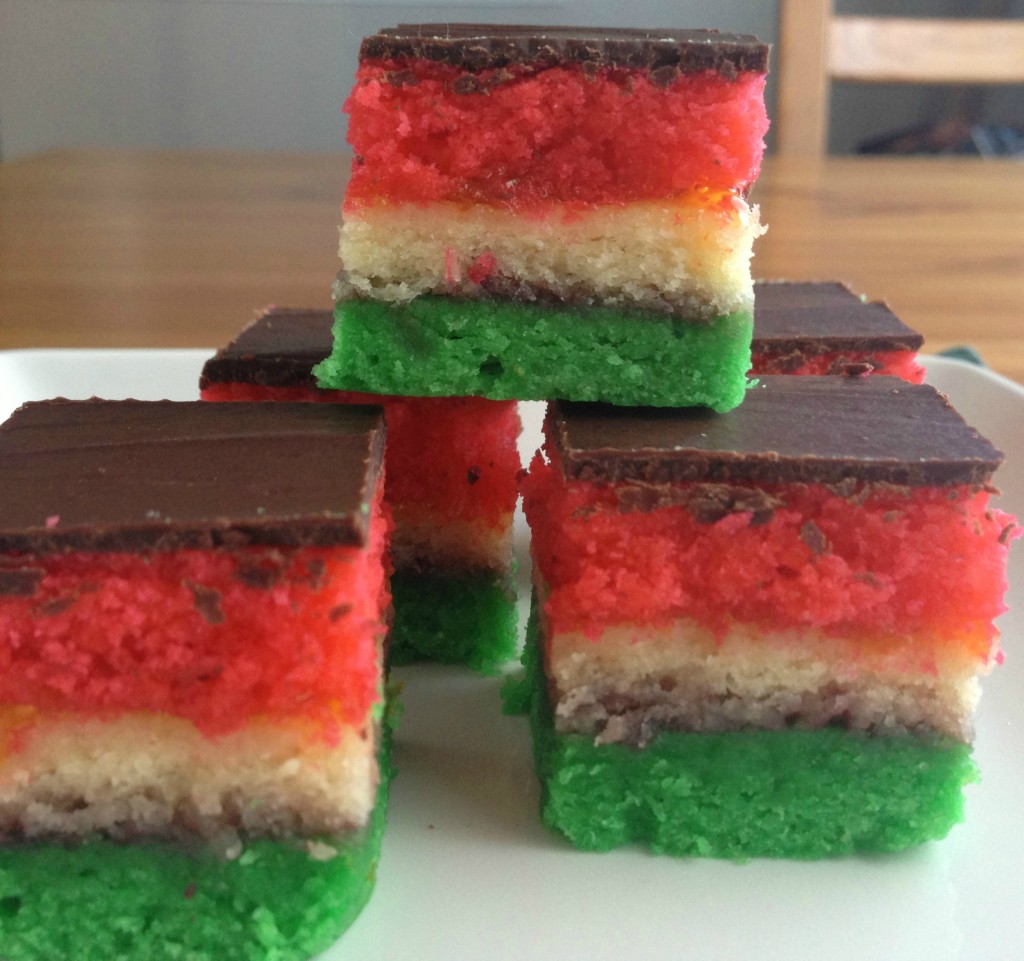
Four years ago I didn’t know what a rainbow cookie was. Scratch that. Four years ago, the term “rainbow cookies” meant the sugar cookies Starbucks used to sell with the M&Ms on top. (Those were the best. I don’t know why they stopped selling them.) Then my friend, Kelly, asked if she could bake cookies with me one day. Kelly’s not much of a baker (I’m not being mean—she’ll tell you the same thing!) so I was excited to have her over to bake. When I asked what she wanted to make, she said “rainbow cookies”. I don’t remember exactly what led to the lightbulb going off in my head alerting me that she was talking about these rainbow cookies and not the Starbucks rainbow cookies. I had seen these rainbow cookies before, not knowing what they were called. I didn’t like them though (or I assumed I didn’t) because they have jam in them. To me, jam belongs on sandwiches, not in cookies. Chocolate belongs in cookies. Duh. Regardless, I agreed that we would make rainbow cookies, and I hit up my buddy Google for a recipe.
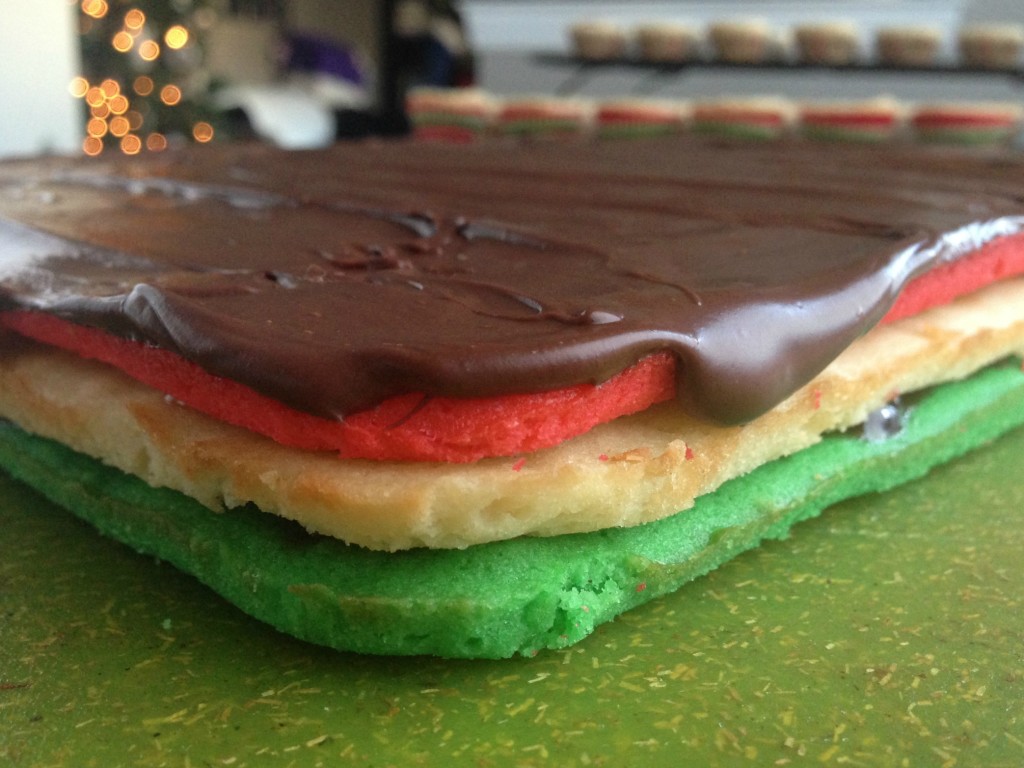
Rainbow cookies were an ambitious cookie to bake for the first time with someone who is not a baker. It was basically the blind leading the blind. I knew my way around the kitchen, but didn’t know what rainbow cookies were supposed to taste like or what the texture should feel like—that was Kelly’s department. We didn’t have any major catastrophes though (unless you count Kelly and my son having a marshmallow fight in my kitchen), and the rainbow cookies were a success! I tweaked the recipe since then, and this year’s rainbow cookies were the best yet (and check out how my chocolate didn’t crack at all when I cut them…a Christmas miracle!). The rainbow cookie recipe continues to be the recipe I am most asked to share. People are impressed when they see homemade rainbow cookies. They are a project for sure, but they’re not impossible if you just follow the steps (plus they get easier every time you make them).
Here’s the other thing about rainbow cookies—my husband (who doesn’t care much for sweets) actually likes them. And so, every year at Christmastime, I make rainbow cookies for him like a good little wife. I still don’t particularly like them—I’ll eat one or two (must taste-test everything I bake!) but that’s enough. I enjoy spending the time to make them because I know other people like them. That first attempt at rainbow cookies was a turning point on my baking path (Thank you, Kelly!)–it was the first dessert I made solely because someone else wanted it. I am admittedly a selfish baker—if I’m spending time making it, I’m going to make something I like! Ever since the rainbow cookie era began though, I’ve been a little less selfish, taking the preferences of others into account when deciding what to bake. Look at me being all selfless! Who knows what might be next? (Linzer tarts for my mother-in-law perhaps?)
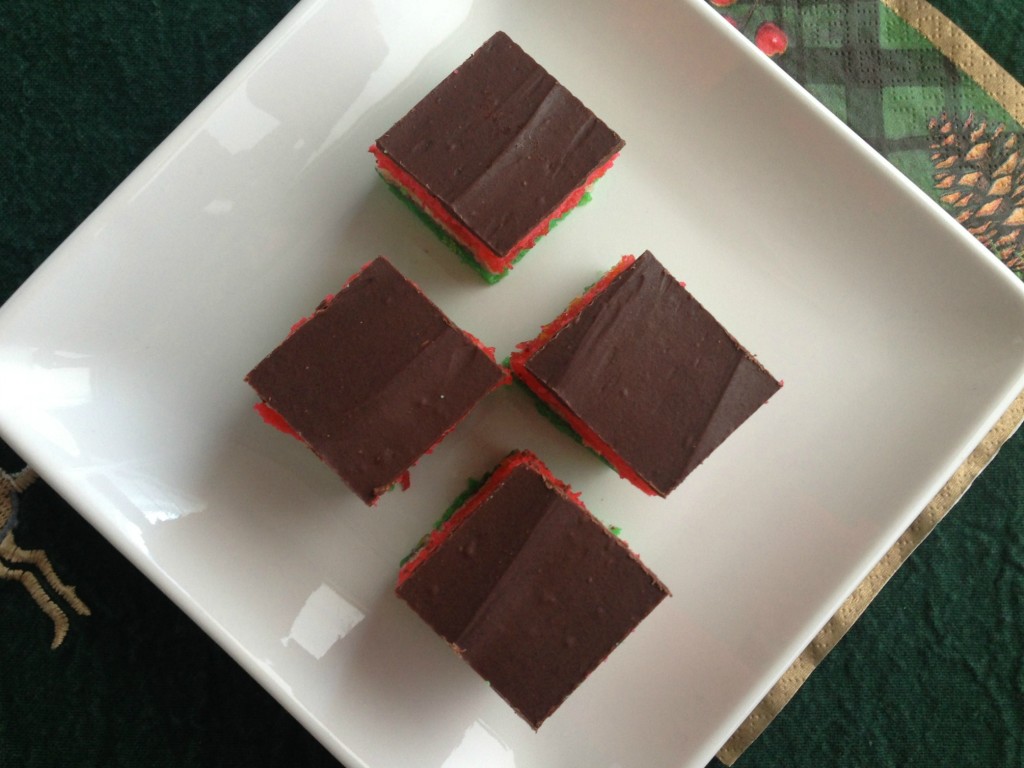
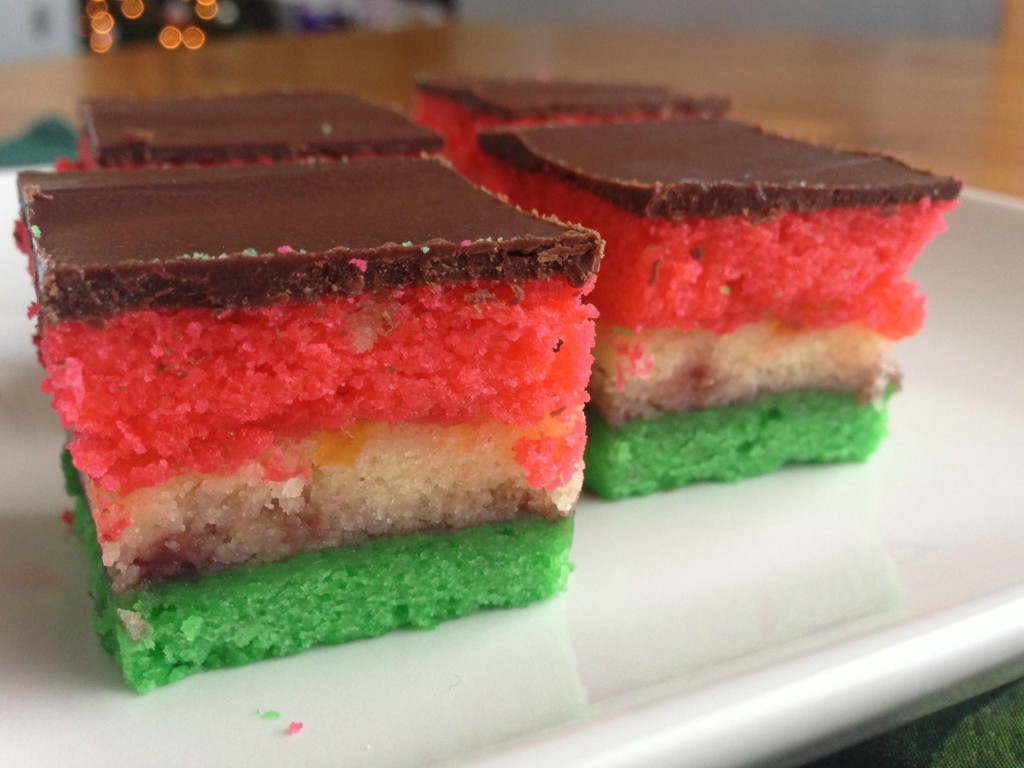
P.S. I took pictures of every step of the recipe, so if you need a visual to go along with any of the instructions, just let me know. I didn’t want to bog down the post with a million photos, but I’m happy to share them if they’ll help!
Ingredients
- 8 oz almond paste (Sometimes almond paste comes in an 8 oz can. Unfortunately the only almond paste the stores by me carry is in a 7 oz tube, so I have to buy two and use just 1 oz from the second tube. I made the recipe with just one 7 oz tube once, and my husband said it wasn’t “almondy” enough.)
- 1¼ cup unsalted butter, at room temperature
- 1 cup sugar
- 1 teaspoon almond extract
- 4 eggs, separated
- 1/2 teaspoon salt
- 2 cups all-purpose flour
- Red food coloring (I use Wilton Icing Colors)
- Green food coloring (I use Wilton Icing Colors)
- 1/3 cup seedless red raspberry jam
- 1/3 cup apricot preserves
- 1¼ cup semisweet chocolate chips
- 1 tablespoon shortening
Instructions
- Read all directions before beginning, and make sure you have plenty of time (It usually takes around 3 hours, plus refrigeration time).
- Preheat oven to 350°F.
- Grease the bottoms and sides of three matching 13 x 9 inch baking pans with shortening (or reuse one pan). Line the pans with wax paper; grease the wax paper with shortening.
- Place almond paste in a large bowl and break it up with a fork. Add butter, all but 2 tablespoons of the sugar (set those 2 tablespoons of sugar aside), almond extract and egg yolks only (set the egg whites aside in another large mixing bowl) and mix with an electric mixer until light, fluffy and smooth (it rarely comes out totally smooth. If you still have almond paste chunks, mash them against the side of the bowl with a fork or spoon, then mix again with the electric mixer. It still may not be totally smooth—that’s ok.)
- Add salt and mix with electric mixer to combine.
- Add flour, stirring just until combined.
- Beat egg whites and 2 tablespoons of sugar until soft peaks form (with my electric hand mixer this takes around 5-8 minutes and I always worry the metal attachments from the mixer will leave the egg whites tasting "tinny"; with my Cuisinart Quick Prep immersion blender it takes 2-3 minutes and comes out better than with the hand mixer. Either way works though.).
- Fold the egg whites into the almond paste dough, mixing with a spoon or rubber spatula until thoroughly combined.
- Divide dough into 3 equal portions (about 1½ cups each—actually measure the dough as you divide it to be sure your portions are equal).
- Color one portion with red food coloring and one with green food coloring. Leave the remaining portion uncolored.
- Spread each portion of dough into a prepared 13 x 9 inch pan in a thin layer. (If you are reusing one pan, make sure to re-grease and re-wax paper it after baking each layer.)
- Bake each layer for 10 – 12 minutes or until edges are light golden brown.
- Invert onto wire rack; remove wax paper. Place another wire rack on top and turn over so the layer is right-side-up on a wire rack. Cool all three layers completely.
- Place green layer on a large piece of plastic wrap on top of a large cookie sheet or cutting board (The plastic wrap needs to be more than double the size of the layer lengthwise. Make sure your cookie sheet/cutting board fits in your refrigerator before you put the layers on it). Spread raspberry jam on the green layer (I leave a ¼” border around the edge so the jam doesn’t ooze out once the layers are compressed). Top with the uncolored layer and spread with apricot preserves, leaving a ¼” border around the edge. Top with red layer.
- Wrap the plastic wrap around the layers so they are completely covered. Set a cutting board or cookie sheet on top to compress the layers then put something heavy on the cutting board/cookie sheet to compress the layers further (old law school books work well!).
- Refrigerate at least 1 hour or up to 24 hours (I usually refrigerate 1-3 hours).
- After refrigerating, remove the plastic wrap completely from the layers, leaving the layers on the cutting board/cookie sheet.
- Melt the chocolate chips and 1 tablespoon shortening in the microwave, stirring every 30 seconds until melted and smooth.
- Spread melted chocolate in a thin layer over the top layer of cookie. The chocolate will harden quickly since the cookie layer is cold from being refrigerated.
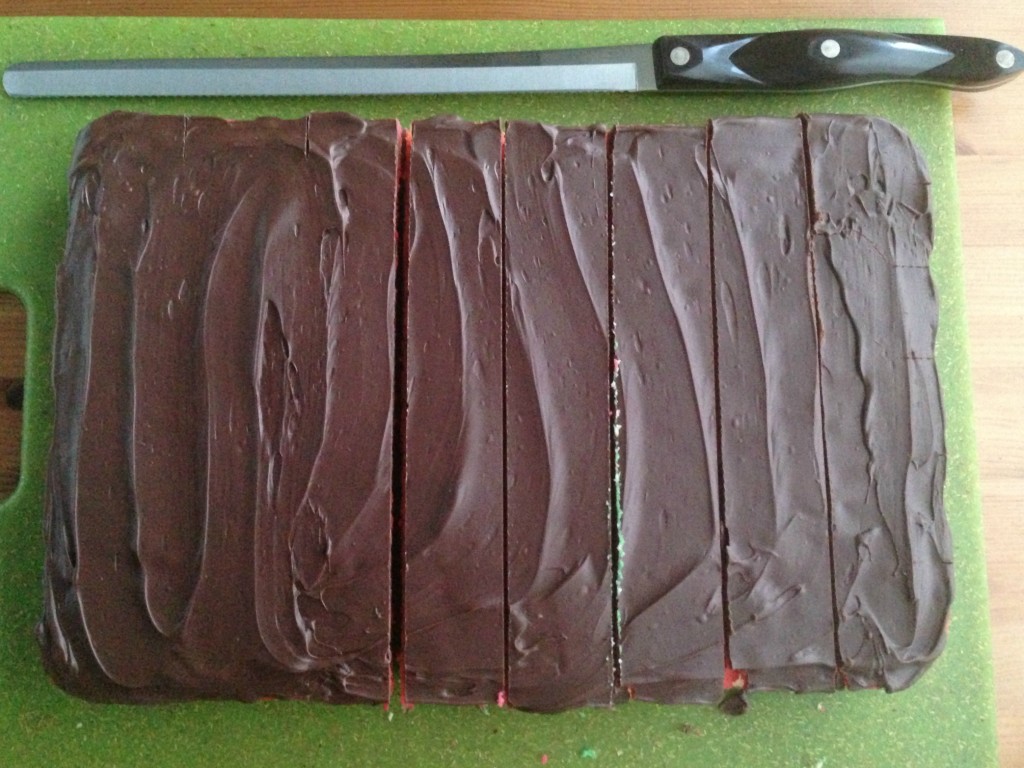
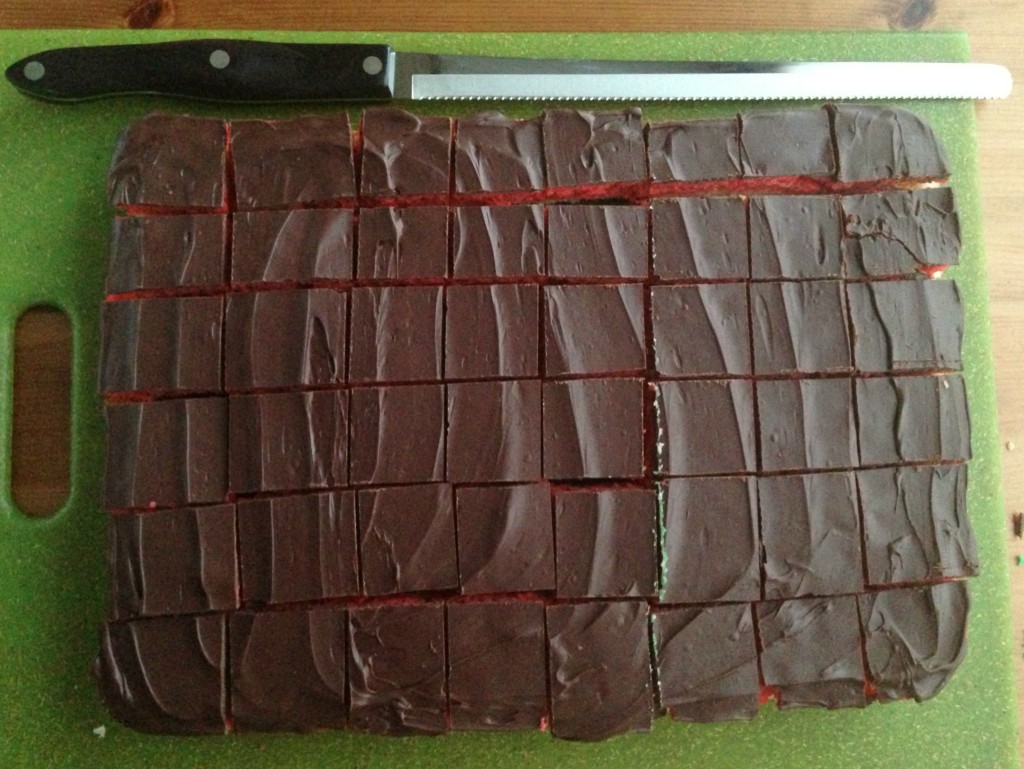
- With a sharp knife (I use a long serrated bread knife) gently cut into ½ to 1 inch strips both lengthwise and crosswise, making 48 even cookies. I mark off where I’m going to cut before cutting to be sure my cookies will be evenly sized. Be careful not to crack the chocolate (sometimes it’s unavoidable, but do your best). Wipe your knife with a clean paper towel between each cut--this helps to keep the chocolate from cracking and keeps crumbs off the chocolate.
- Store in an airtight container up to 2 weeks.
Notes
Adapted from Lidia's Italy Rainbow Cookies and Taste of Home.


And amazing they were!
Linzer tarts? Did someone say Linzer tarts?! Would love to help, I may even have the recipe to bring ..lol
Oh good! There’s way too many recipes out there, and considering I don’t eat linzer tarts I don’t know which are the good ones! We’ll plan a date!