Did you read my Prologue to Holiday Baking? Check it out if you’re wondering where the fun stories are, and if it feels like maybe some pictures are missing. Don’t worry…fun stories and more pictures will follow!
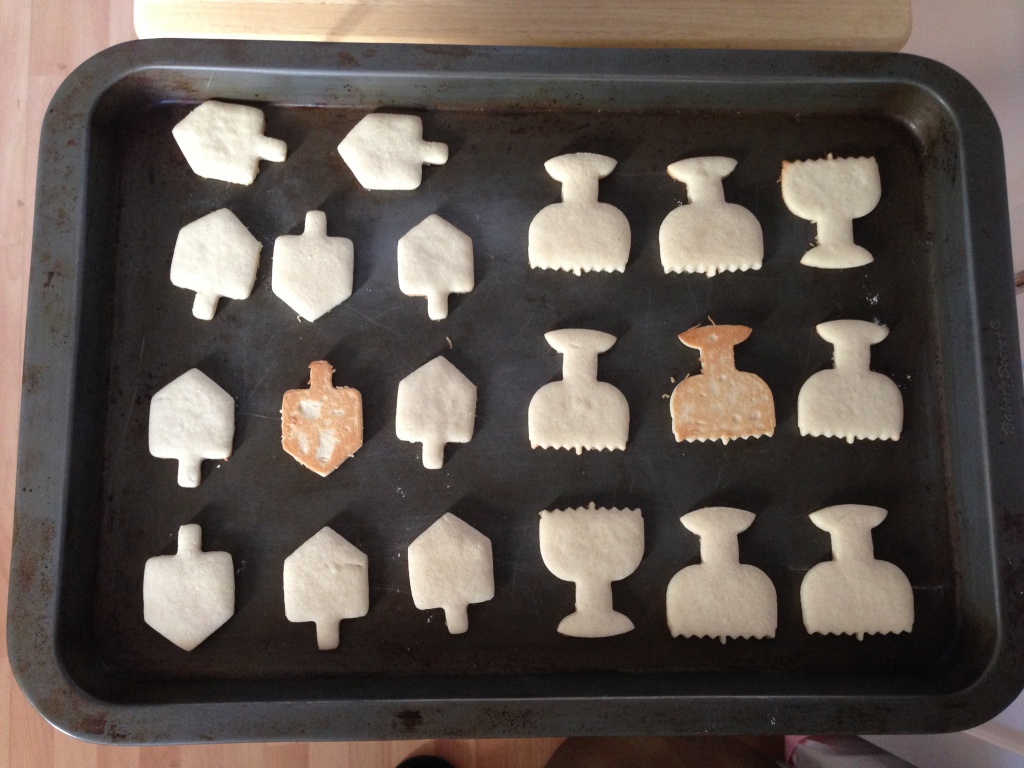
Do you see those two cookies that are flipped over? They illustrate what the bottoms of the cookies should look like when they are “done”. Try not to overbake!
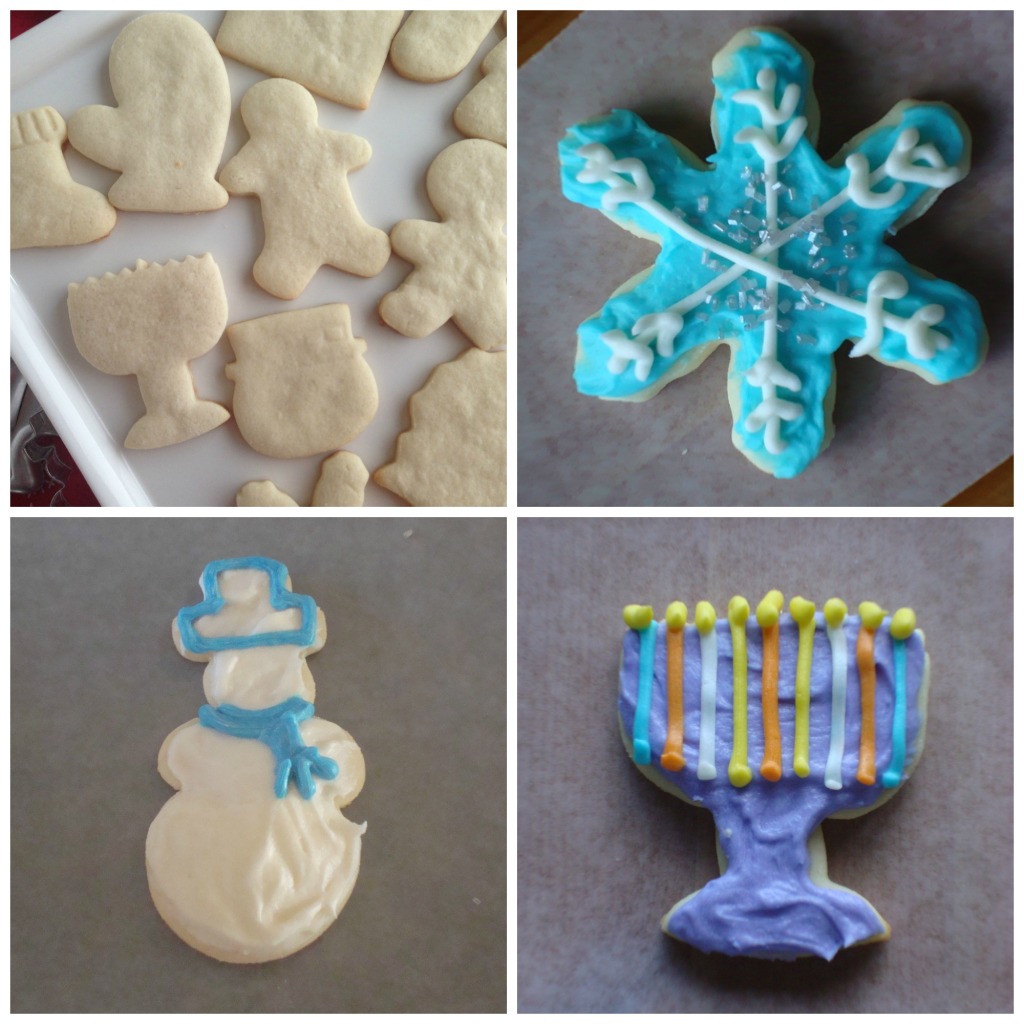
These cutouts are softer than your usual cutouts, but they aren’t flimsy. They can withstand any frosting and decorations you add to them. They taste great too! I usually make the actual cookies ahead of time, freeze them for a week or 4, then take out what I need and decorate only those cookies. That way I always have a supply of cutout cookies in the freezer, ready to be frosted and decorated for any holiday gathering that might pop up. They are super-easy to decorate straight from the freezer—no worries about breaking the cookies. But they are also sturdy enough to decorate without freezing.

Ingredients
- 1 cup sugar
- 3/4 cup unsalted butter or margarine
- 1 egg
- 3 tablespoons whipping cream
- 1 teaspoon vanilla extract
- 1 teaspoon almond extract
- 3 cups all-purpose flour
- 1½ teaspoons baking powder
- 1/2 teaspoon salt
- 1/2 cup unsalted butter or margarine, room temperature
- 1/2 cup shortening
- 1 teaspoon vanilla extract (use clear vanilla extract if you have it)
- 4 cups confectioners sugar
- 3 to 4 tablespoons milk
- Food coloring (optional; I use these Wilton icing colors)
- Assorted candies and sprinkles for decorating
Instructions
- In a large mixing bowl combine sugar, butter, egg, whipping cream, vanilla and almond extract. Beat at medium speed of electric mixer until light and fluffy.
- Add flour, baking powder and salt. Beat at low speed until soft dough forms. It may turn into the consistency of Dippin’ Dots at this point—if so, use your hands to mix just until a soft dough forms.
- Cover with plastic wrap.
- Chill 1 to 2 hours, or until firm.
- Heat oven to 400°F.
- Grab a large handful of dough. On a floured surface (I use my Wilton Roll-n-Cut Mat), roll dough to ¼ inch thickness. Don't forget to flour your hands and your rolling pin. I usually keep a paper plate of flour nearby, and use it to flour my surface, hands, rolling pin and cookie cutters as needed.
- Using cookie cutters brushed with flour, cut desired shapes into dough.
- Place shapes 2 inches apart on ungreased cookie sheets.
- Bake for 4 to 6 minutes, or until bottoms are light golden brown.
- Repeat steps 6 through 9 until all dough is used. Note—I roll out the scraps from the same handful of dough just twice—any more and the cookies will be too dry. After using that handful of dough twice, I add whatever scraps I have to a new handful of dough and incorporate it. Repeat until all the dough is used.
- Prepare frosting as directed.
- Decorate cookies as desired.
- Let dry completely before storing. Store in a single layer if possible. If you must stack cookies, put a sheet of wax paper between each layer.
- In a large mixing bowl combine butter, shortening and vanilla. Beat at medium speed of electric mixer until creamy.
- Add confectioners sugar, 1 cup at a time, beating at low speed until well blended.
- Add milk, 1 tablespoon at a time, until it reaches the desired consistency. You may not use all the milk, depending how thick or thin you want your frosting.
- Beat at medium speed until light and fluffy.
- Separate into smaller bowls and add food coloring as desired.
- Decorate cookies with frosting and sprinkles/candies as desired.
Notes
Adapted from Special-occasion Sugar Cookies and Decorator Frosting in Cookies! A Cookie Lover's Collection.
Love the new blog! With all of your advice/tips and suggestions, there may be hope for me as a successful baker yet! Fantastic pictures of your amazing creations! Xoxo
Thanks Jess!
Do you think the cookies would turn out the same if you used milk in stay of the whipping cream? (As in, I want to make these right now but don’t have the cream on hand).
I’ve never made them with milk, but I think it should work–maybe they will be a little thinner. If you’re using whole milk, I’d stick with the same 3 tablespoons. If it’s skim to 2% milk, I’d start with 2 tablespoons of milk, and only add more if your dough seems dry. Let me know how they come out! I’d love to not have to buy whipping cream every time I want to make these cookies haha
It worked out perfectly with 2 tablespoons of skim!
Yay! I’m so glad. Thanks for testing it out!
Also, does this frosting recipe stay soft or does it harden? I was unclear on that part.
The frosting kind of crusts over–not completely hard like icing, but hard enough to stack cookies on top of each other (with wax paper between layers) and not ruin them.
That’s exactly what I’m looking for!
I made these yesterday. My husband is always asking for a soft sugar cookie instead of the crispier ones my great grandmother’s recipe makes. These were a success! Thanks for sharing.
Yay! I’m glad your family liked them!